Many recipes are too much work and I sometimes like to do almost nothing for a recipe. Call this an anti-recipe. A toasted Blueberry Bagel & Butter for breakfast, just 2 ingredients only.
My wife, Linda, does not like Blueberry Bagels, I don't know why - but I like them. There seems to be a controversy with sweetened Bagels like Cinnemon-Raisin and Blueberry. You can read about it here.
I had a memorable visit to a touted NYC bagel joint called Ess-a-Bagel. Boy are the bagels tasty and so may varieties and toppings. Check out my slideshow below.
I get my Bagels cheaply at my Ralphs Grocery Store in the bargain bin. Now they may be a few days to a week old, but when I toast them they are still soft and chewy in the middle and crusty on the outside.
Butter is expensive, but you only need a thin, small slice per toasted half.
I'm new to the Blueberry Bagel and I liked them at first bite. Now, I do think the typical use of onion and tomato is a slice topping too far, though.
I like them with cream cheese or butter. Anyway, in the video below is how I enjoy a toasted Blueberry Bagel with Butter.
Blueberry Bagel & Butter - VIDEOPlay it here. The video runs 1 minute, 10 seconds.
Acapulco Gold, Texas Tea, Panama Red, Maui Wowie, Mary Jane, chronic, ganja, pot, weed, grass, kush, herb, joint, blunt, roach, cannabis, reefer, spliff, fatty, jay, doobie, and locoweed, are just some of the euphemisms for marijuana.
Click on any photo to see larger.
Many pot shops have a green cross or green type somewhere on their building. This comes from when marijuana was first legal in L.A. for medical purposes only - I guess it's a play on the Red Cross?
Click on any photo to see larger.
420 Coast to Coast
Venice, Los Angeles
East Village, New York City
This month 420 is celebrated with pot shop gift bags (given with a minimum purchase) and free handouts.
Here is my local marijuana dispensary, just down the street where there's usually a line on this underground holiday.
I'm not the Wake-and-Bake type, and I don't blaze up every day, anyway.
If you're out of the loop, 420 or April (4th month) and day 20, is an international celebration of all things marijuana. The term "420" supposedly originated in 1971 here in California by a bunch of high school buddies who would meet at 4:20pm to smoke weed. You can read about it here.
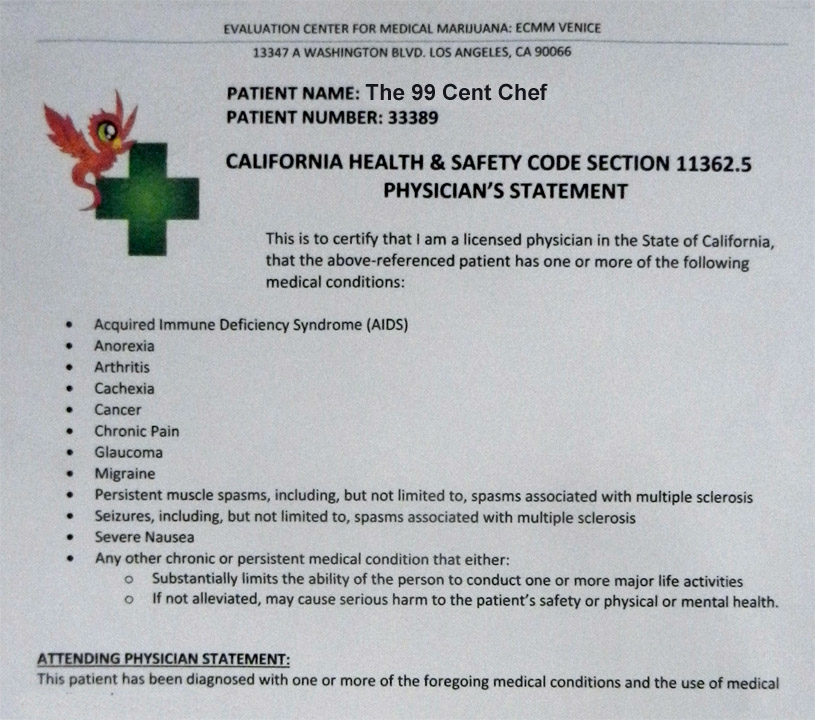
Getting a prescription was a farce really, pay the doctor $100 bucks, pick your ailment, and walk out with legal papers. Now anyone who's 18 or older with a physician's recommendation (medicinal use) and 21 or older (adult use) can purchase marijuana, so that song and dance are no longer played.
I've been a contributing citizen to the economy and a creative artist most of my life so all the boogeyman stories of reefer madness don't fly here.
When I was in high school I primarily used it when listening to music, as it was the 1960's and getting high brought a heightened experience and meaning to the lyrical and sonic content of songs by The Beatles, Rolling Stones, The Kinks, Jefferson Airplane, Pink Floyd, Bob Dylan, etc.
And it was just a fun thing to do with friends on the weekend and long summer dazes.
Just watch my Mom's recipe for Tex-Mex Enchiladas to see my high school buddy Marvin and I have a 1960's flashback hanging out and listening to album rock in my bedroom.
These days I like a cannabis-infused edible from time to time. They will last a couple of hours, just right for an art show, movie, or musical concert at the Hollywood Bowl.
Check out some of the concerts I've seen there, including a Willie Nelson concert where I've never smelled so much marijuana in my life!
I'll leave you with another recipe should you be in need of some munchies while celebrating 420 - that is, not my recipe, but one from my brother from another daddy, the Swamp Chef! Check out a tasty cheesy Cajun Nachos video made with nephew Zak!
Cajun Natchos calls for cooked crawfish tail meat, but it's easy to substitute small shrimp or any favorite protein.
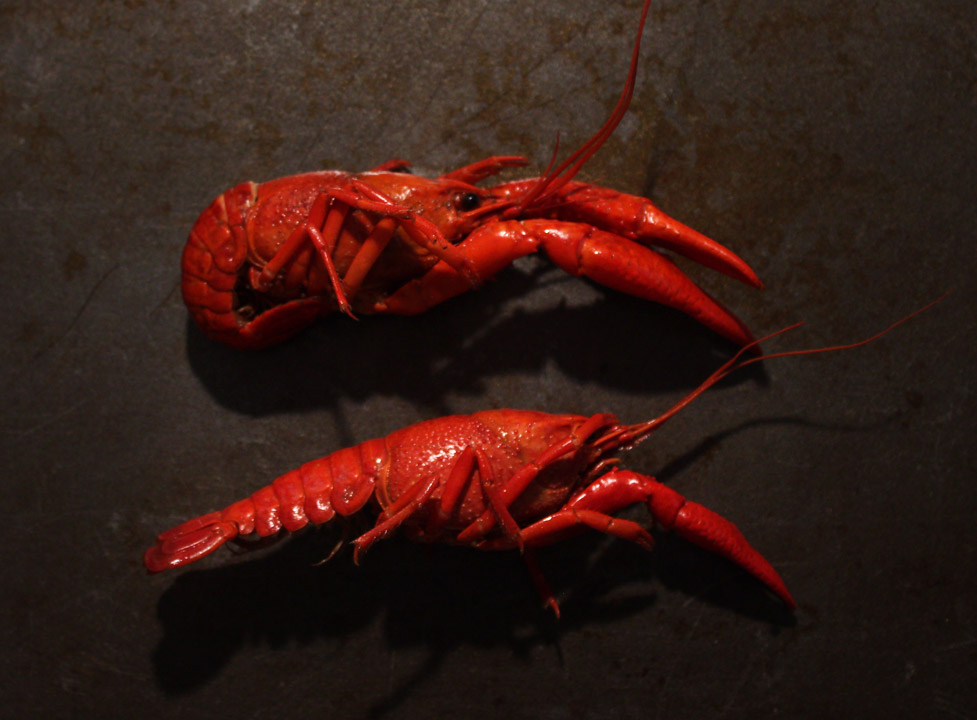
Today I offer praise to the humble Mudbug, or Crawfish. Also known as Crayfish and Crawdads, there are even more colorful names depending on where you reside. I know Crawfish, and hopefully, you'll learn a few things about this delicious crustacean on National Crawfish Day.
Click on any photo to see larger.
A Crawfish is like a miniature lobster. You can cook them the same way as a lobster, too. Normally they are boiled in a spicy broth of water and a package of Crab Boil.
And you feed on the Crawfish tail, just like a lobster. You can even get a sliver of claw meat if the Crawfish is large enough.
Peeling a Crawfish Tail
Due to their small size, Crawfish cook quickly like shrimp. They only take 10 minutes of boiling and then you turn off the heat and let them stew in the spicy broth -- the longer they steep in the broth, the spicer the crawfish.
Now it's time to eat the hot tiny Crawfish tails. Just watch my video below to see how I do the deed. And a warning I do suck the head of a Crawfish just like a real Cajun does - it's loaded with a whole lotta juicy flavor.
How to Eat a Crawfish - Video
I learned to peel a cooked Crawfish early on. When a bag is dumped on the table you better know how to make quick work to get the tail meat or you will be left behind. Like with anything, the more you peel them the speedier you will get.
30-pound bags of live Crawfish
The meaty Crawfish tail is small like a bay shrimp, but milder in fishy flavor. I lived in Louisiana in my high school daze, where Crawfish culture has risen to edible art. Think of any recipe you would make with shrimp and you can substitute Crawfish tail meat instead.
Louisiana has swamps where Crawfish thrive. These days you are more likely to get them by way of a Crawfish Farm that is just a shallow pond.
During Crawfish Season, from about February to May, you can buy them at supermarkets and even gas stations with a deli counter.
You can buy them live or already cooked. They cost anywhere from $3 per pound for live to $5 per pound for cooked whole Crawfish.
You can buy precooked and peeled Crawfish Tails in frozen one-pound packages in the $15 dollar range.
While on the expensive side, they will provide an ample entree, enough to serve your family --especially if you follow Chef Tony's Crawfish Etouffeerecipe, below.
My family usually orders them cooked, but almost every local has attended or thrown a live Crawfish Boil in their backyard at one time or another.
My niece Candyse (top center) and her family.
If you are feeding a party, budget about 3 pounds of the whole Crawfish per person. A basic Crawfish Boil usually has lemon halves, corn, and potatoes that start in a spicy boil, then when done the live Crawfish are added.
I've yet to meet a local Louisiana adult or child who does not like cooked Crawfish. Now the exception is if Crawfish is extra-spicy of course, so you may want to pull them early from the crab boil broth if you have kids or sensitive palates to contend with.
Cajuns in Louisiana have come up with tasty local Crawfish entree or appetizer recipes, everything from a spin on Fettucini Alfredo with Crawfish to an Omelet stuffed with Crawfish, and even a flakey Crawfish Pie or Turnover.
My brother from another daddy, the Swamp Chef, has decadent Cajun Nachos made with, you guessed it, Crawfish. And it's built on a bed of tortilla chips topped with a can of red beans, cheese, Crawfish tails, and more cheese, oh, and don't forget the hot sauce!
Be sure to hang in there past the wacky video intro with my nephew Zak and the Swamp Chef, followed by the Cajun Nachos recipe.
Cajun Nachos - Video
A fave Louisiana potato chip purveyor, Zapp's, does a Crawfish flavored version. How do they taste? They are very salty of course and have a mild shrimp taste.
I'll leave you with a selection from the deli case of Rouses Market in Gonzales, Louisiana - a great local grocer with a fine selection of frozen Crawfish Entrees.


%20b.jpg)